My Personal Tip to Transform My Hardwood Floors
After many of my posts, several readers and followers have asked me the secret behind the beautiful hardwood floors you see in the images I post. At first, I thought it was just common knowledge, something everyone already knew. But then I realized that many people still struggle to find the right solution for their…
After many of my posts, several readers and followers have asked me the secret behind the beautiful hardwood floors you see in the images I post.
At first, I thought it was just common knowledge, something everyone already knew. But then I realized that many people still struggle to find the right solution for their wooden floors.
So, I’m here to share what I’ve learned, and I consider myself lucky to have this opportunity to pass it on to you.
This isn’t an advertisement, just my personal experience and a tip I’ve found incredibly helpful. No sponsored products here, just a simple, effective method that worked wonders for my floors.
Here’s my tip that I believe anyone can use to achieve those polished, glowing floors you see in the photos.
The Struggles: My First Attempts Didn’t Cut It
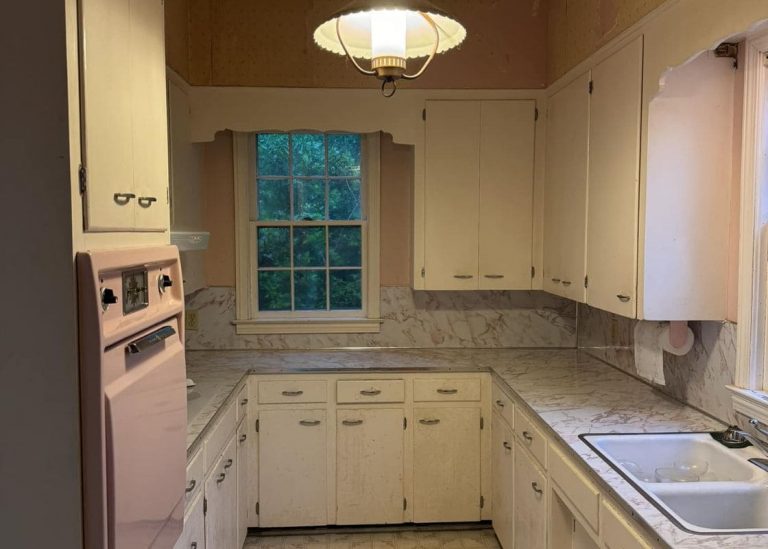
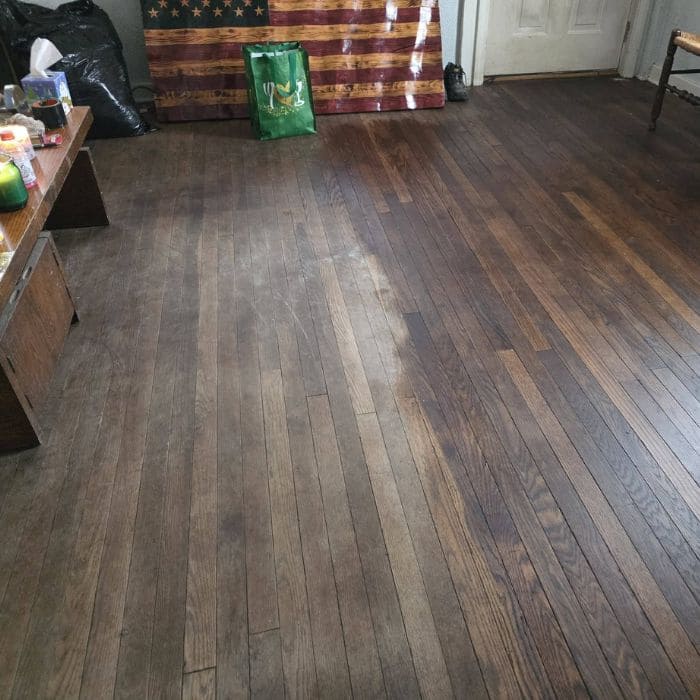
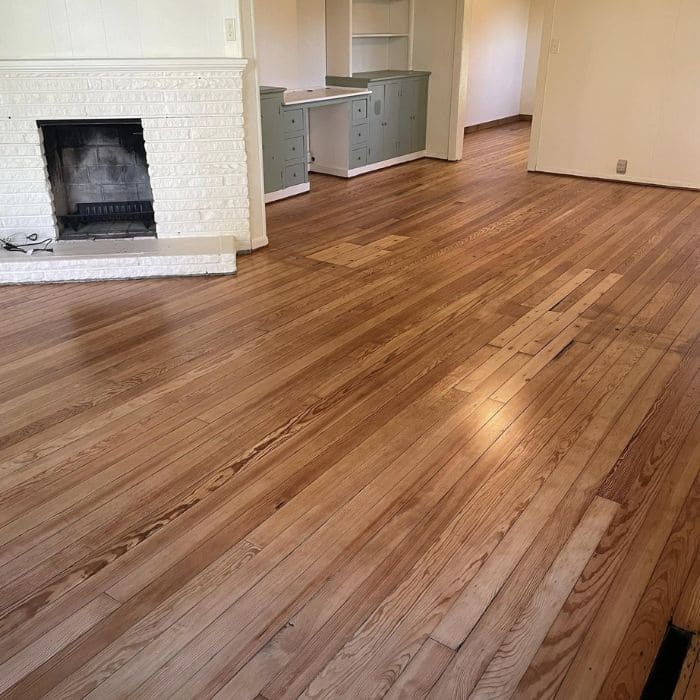
When we first moved into our house, I was determined to keep the original hardwood floors in great shape. They were old, a bit worn, and definitely had seen better days. But I could tell they had potential with the right care, they could look beautiful again.
Like most people, I went online to find a quick solution. The first product I tried was a popular cleaner that promised to bring the shine back to wooden surfaces.
I followed the instructions carefully, but after a few days, the floor began to look dull again. It felt like a temporary fix, and the shine faded fast. I realized it wasn’t the magic solution I had hoped for.
Next, I tried a wax-based product, hoping it would help. While it did give the floors a shiny finish, the wax started to build up, leaving streaks and making the floor feel slippery and sticky.
It was so frustrating, and I had to strip off the wax to fix the mess. That was a nightmare, and I swore off wax-based products forever.
Enter Orange Glo: The Game-Changer
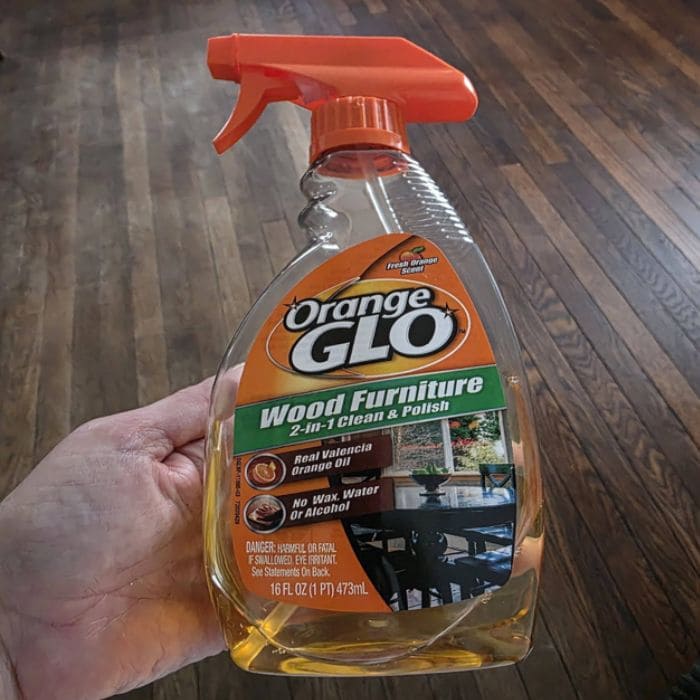
After these failed attempts, a friend of mine from my old house group gave me a tip. She recommended Orange Glo Wood Furniture Cleaner and Polish.
She had used it for her floors, and the results were amazing, the floors looked shiny and revitalized, but there was no waxy residue. She bought it at Walmart, but I’ve also seen it online and in other stores, so it’s easy to find.
The price was right, I bought a 16 oz bottle for around $4.98. The product contains real Valencia orange oil, which sounded like it could nourish the wood without being too harsh.
And it promised no wax, water, or alcohol. After reading the reviews and hearing her raving about it, I decided to give it a try.
How I Used Orange Glo – Step-by-Step
1. Preparing the Floors
Before you even think about applying any product, the first step is always to clean your floors thoroughly.
I started by vacuuming the floors to remove any loose dirt, dust, and debris. This was essential because even the smallest dirt particles can get stuck under a cloth or in between the wood planks, causing streaking or uneven finishes.
Next, I used a damp microfiber cloth to wipe down any stubborn spots, especially near the edges or corners where dust tends to settle.
If you have any old cleaner or polish residues from previous attempts, I suggest doing a deeper clean or using a product specifically designed to strip waxes and residues from wood surfaces.
2. Applying the Product
I love how easy this step is with Orange Glo. Just grab the bottle and spray it directly onto the floor.
I worked in small, manageable sections, spraying a light, even coat of product over about 3-4 square feet at a time.
Orange Glo doesn’t require a lot, just a thin layer is enough to get the effect. If you use too much, it can cause buildup, which is exactly what you’re trying to avoid.
I always try to make sure the product covers the entire area I’m working on, from corner to corner, but without over-saturating the floor. This ensures an even finish.
3. Buffing and Polishing
Now, here’s where the magic happens. After spraying, you want to give it a minute to absorb. Then, take a clean, dry microfiber cloth (the softer, the better) and start buffing the area.
I used circular motions to gently work the product into the wood. The goal is to make sure that you’re not just spreading the product but also working it into the wood grain so that it absorbs and shines evenly.
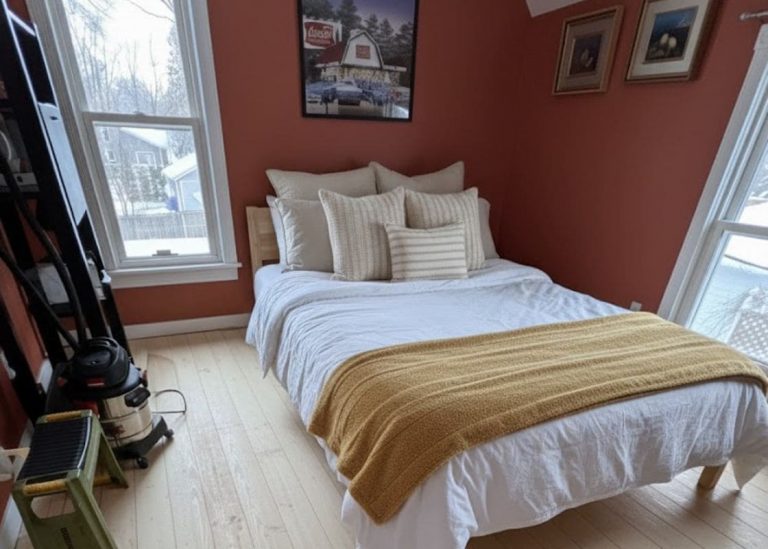
This is the part that brings out the natural wood shine and texture. As I buffed, I could already see the dullness disappear, and the wood grain started popping in a way I hadn’t seen in years.
4. Letting It Dry
Once I finished buffing, I let the floor dry for about 30 minutes to an hour. It’s important to give it time to fully dry before walking on it.
Tips to Apply Orange Glo Like a Pro
1. Work in Small Sections:
I can’t stress this enough. Trying to do an entire room at once can feel overwhelming, and the product may start to dry before you have time to buff it properly.
I recommend working in sections of about 3-4 square feet each. This will help you stay organized and ensure an even finish.
2. Use a Microfiber Cloth for Buffing:
Microfiber cloths are ideal for buffing, as they’re gentle and absorbent, leaving the surface smooth and streak-free. Avoid paper towels, as they tend to leave lint or streaks on the floor.
3. Don’t Over-Saturate:
Less is more when it comes to applying Orange Glo. Spraying too much will leave a sticky residue that’s hard to buff out.
A light, even spray will do wonders, and it’s better to apply more if needed than to start with too much.
4. Regular Maintenance:
To keep your floors looking fresh, I recommend using Orange Glo every few months. For heavy traffic areas, you might need to do it more often.
But generally, you’ll be able to enjoy that glossy shine for weeks before needing to touch up.
5. Test First in a Small Area:
Before applying Orange Glo across the entire floor, it’s always a good idea to test it in a small, inconspicuous area. Every floor is different, and this will ensure that you’re happy with the results before committing to the whole room.
6. Avoid Over-Buffing:
While buffing is important, overdoing it can sometimes strip away the finish you just applied. Keep your motions gentle and steady to avoid making the floor too dry or too shiny. It’s all about finding that perfect balance.
Where to Use Orange Glo
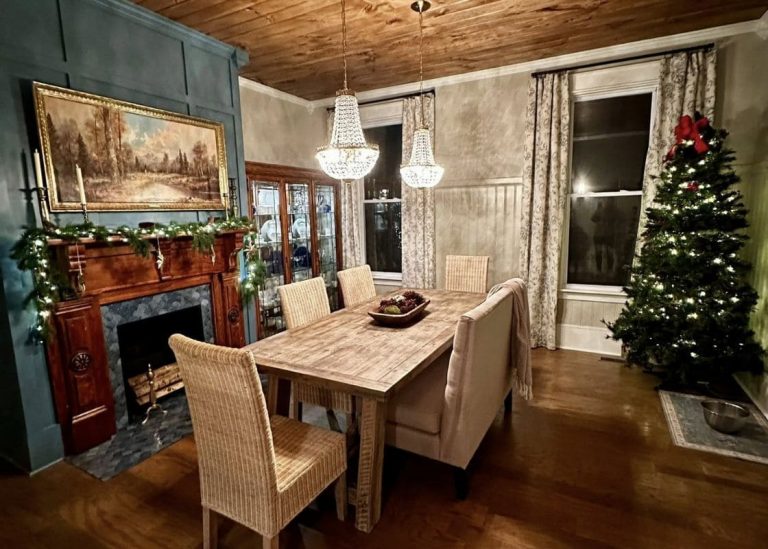
I’ve used Orange Glo not just on my living room floors, but all around the house. It works wonders on hardwood floors, but you can also use it on wood cabinets, doors, and trim.
If you’ve been struggling with your hardwood floors and are tired of trying different products with no success, I highly recommend giving Orange Glo a try.
This is just my personal tip – no advertisements, just a product that really works. I hope it helps you as much as it has helped me.